Configuration
Installation
To install our AutoTagger for LiveChat, go to your LiveChat Agent Application > Apps and search for "AutoTagger". Once you find it, click on the "Install" button in the top right corner of its Marketplace page.
Once it is installed, you can find its Settings on your installed apps list in the Apps section.
First steps
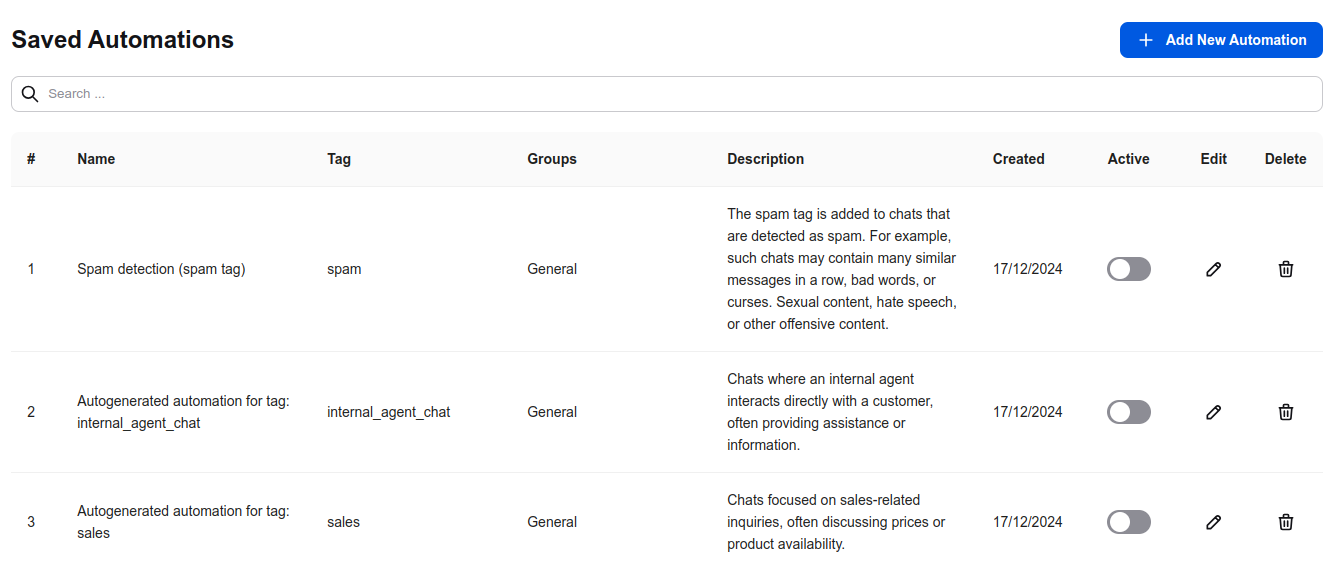
Once the integration is installed, there will be up to 6 automatically generated Automations. Five of them will be generated by AI based on your 100 last chats in the General group and most commonly used tags. The 6th Automation is the one using the "spam" detection tag. The automatically generated Automations names start with "Autogenerated automation for tag:" Feel free to remove or edit the ready Automations. Note that AI may decide there is not enough data to generate them. In such case, only the spam Automation will be created. They are all inactive by default to not use the auto-tagged chats quota.
Automations
Activating Automations
To activate a chosen automation click on the toggle/switch button on the right side of it. The green color of the switch means that the automation is active.

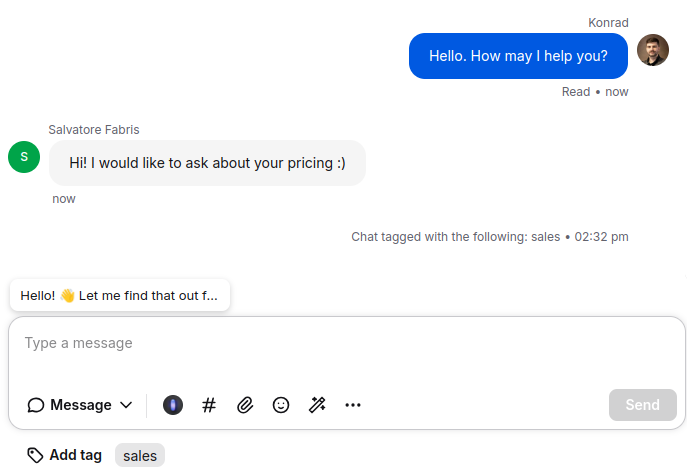
Each time there is a chat in a Group where the automation is active, each message will be checked along with the context. If the AI decides the description in the Automation matches the context, the chat will be tagged with the corresponding tag. There will be also a dedicated system message added to the chat about the chat being automatically tagged with tags.
Adding new Automations
To create a new Automation, click on the "+Add Automation" button in the top right corner of the screen. You can also edit the existing ones by clicking the "pen" icon on the right side of them.
The Automation creation form will be displayed to you.
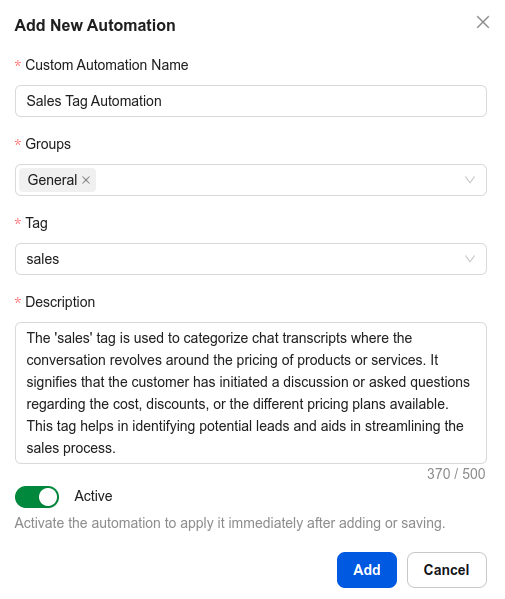
- Automation Name - You can name your automation to make it easier to be recognized on the list.
- Groups - Choose which groups will be affected by this Automation. Note that not all tags are added to all LiveChat groups. You may want to visit first your LiveChat tags settings.
- Tag - Once you choose the groups you will be able to choose the tag the automation will use. Note that if you chose more than one group and the tag is not listed from the dropdown, it means the tag you look for is not added to all of them. You would need to visit the LiveChat tags settings.
- Description - Once you choose a tag, AI will try to generate an example description for you. You can use this ready suggestion, edit it or delete to write your own. The description will be used to check if the chats context matches it.
- Active - The activation switch once enabled will automatically activate the Automation after it is created. If you don't want to use the Automation right away, do not activate it.
Editing Automations
To edit an existing Automation, click on the "pen" icon on the right side of it. You will see the similar form as in the "Adding new Automations" section and you can use it to edit the Automation.
Deleting Automations
To delete an existing Automation, click on the "trashbin" icon on the right side of it.
Spam detection and Settings
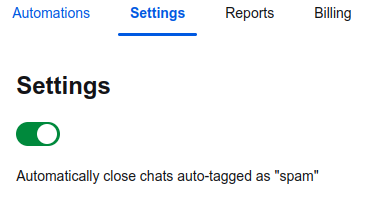
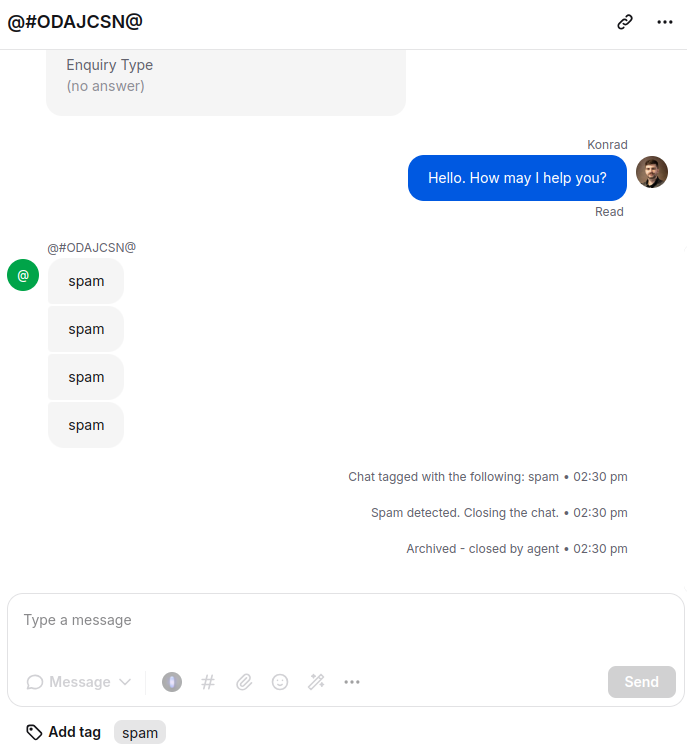
The Settings tab contains for now only one swithc. If you have an active Automation that tags chats as "spam", you can make the integration automatically close the chats the moment they are tagged as "spam".
We would love to hear out your feature requests!
Contact us at support@darka.io.