Configuration
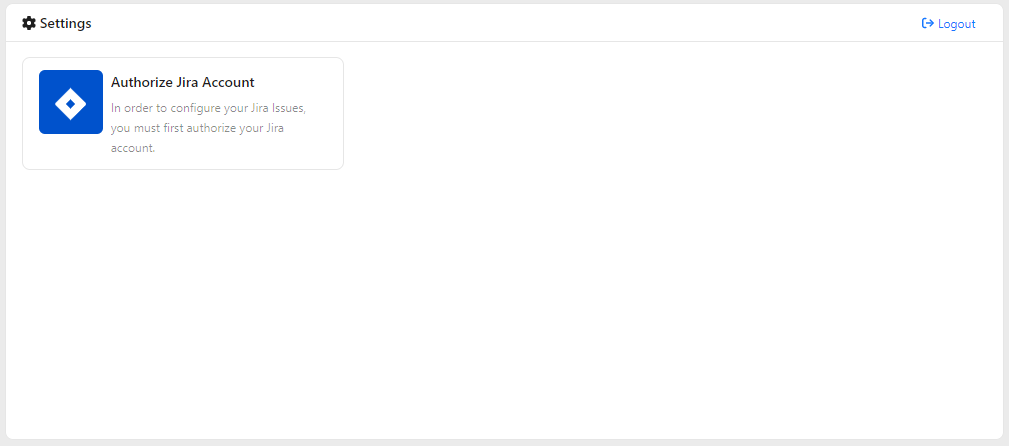
Step 1 - Authorize your Jira Account
Navigate to the app settings section and click Authorize Jira Account. You will be asked to authorize on the Jira authorization page.
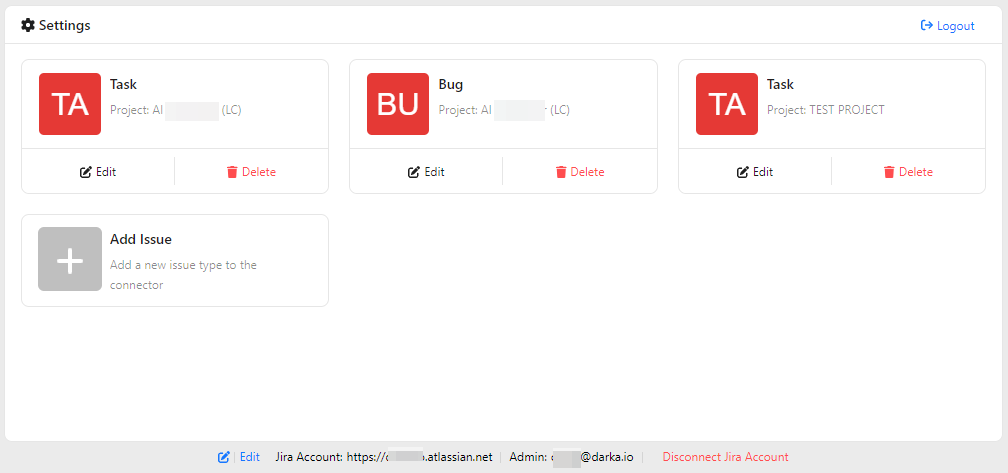
Step 2 - Add mappings to your Issues
Clik Add Issue to add a new issue mapping.
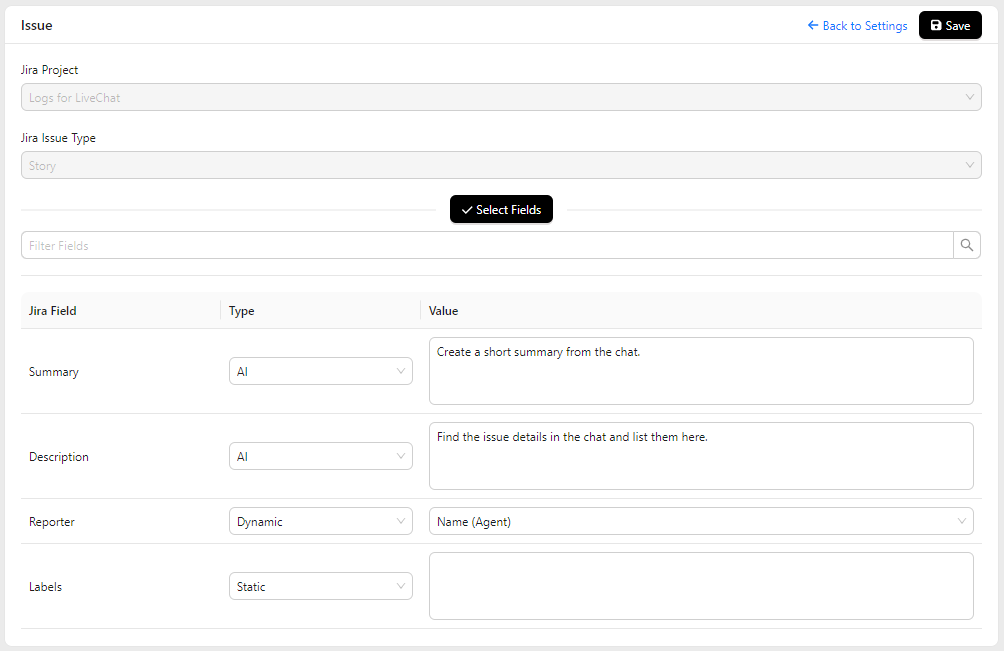
Choose the project you want to create issues in and the issue type.
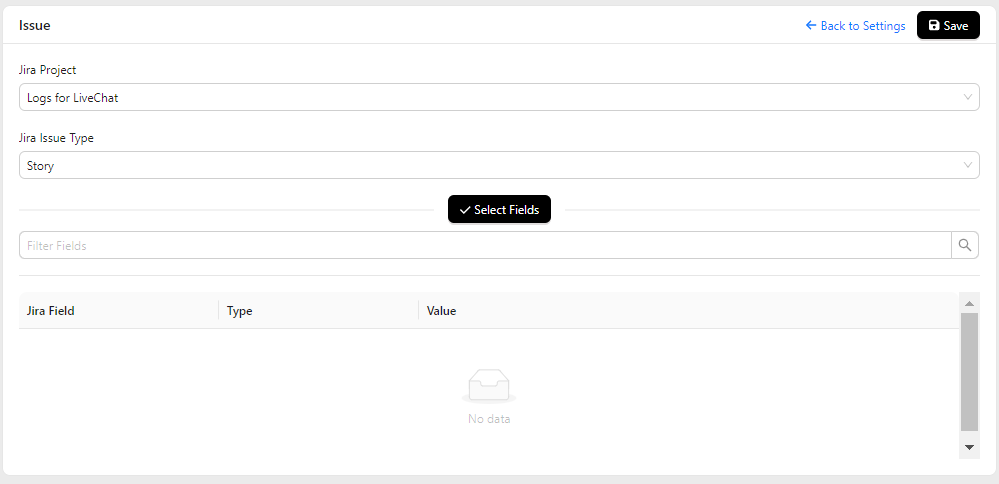
Click Select Fields To select which fields you want to be sent to Jira
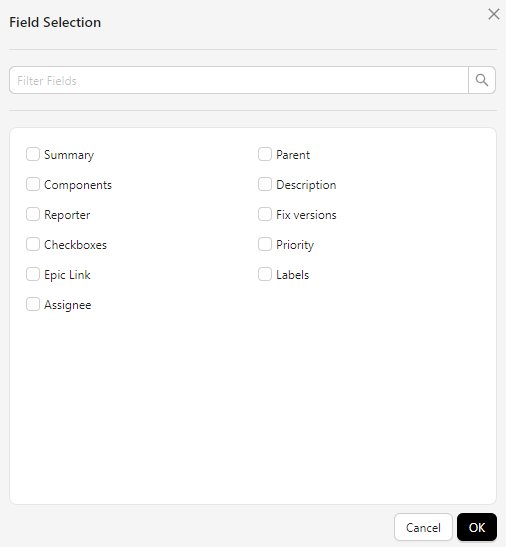
Select desired values for each of the fields. You will have 3 types of values to select:
- AI - Write a prompt to extract some data from the ticket/chat or analyze it in any other way. For example Write a short description of the issue described in the ticket Our AI model will extract the description from the chat or ticket and fill it in the description field in Jira.
- Static - This value would always be the same (it can also be changed in the Details Widget later on)
- Dynamic - Select an option from a wide range of dynamic values extracted from the chat or ticket such as - Custom Variables, URL Params, Chat/Ticket Transcript etc.
Click Save!